Showing posts with label tutorial. Show all posts

2.12.2014

tissue paper hearts... a tutorial...

every year growing up i would always receive a little surprise from my mom and dad on valentine's day...
 
i've always done the same for my girls... this year i decided to make them tissue paper hearts that will hold some of their favorite treats... and sweet wands that will have a special note on the back for each of them...
i found the cutest red and white polka dottie tissue paper at target that was perfect for the heart... {that target never disappoints, does it?}
 
the first thing i did was iron the tissue paper on a very low heat setting to remove the wrinkles...
 
i placed two pieces of tissue paper wrong side up under two pieces of tissue paper wrong side down... i did this so that when sewing, the polka dot pattern would remain on the outsides...
 
i used a heart that i made for one of our projects at the valentine's day make and take as a template...
i held the template in place and began to sew around the edges {being careful not to catch the paper}
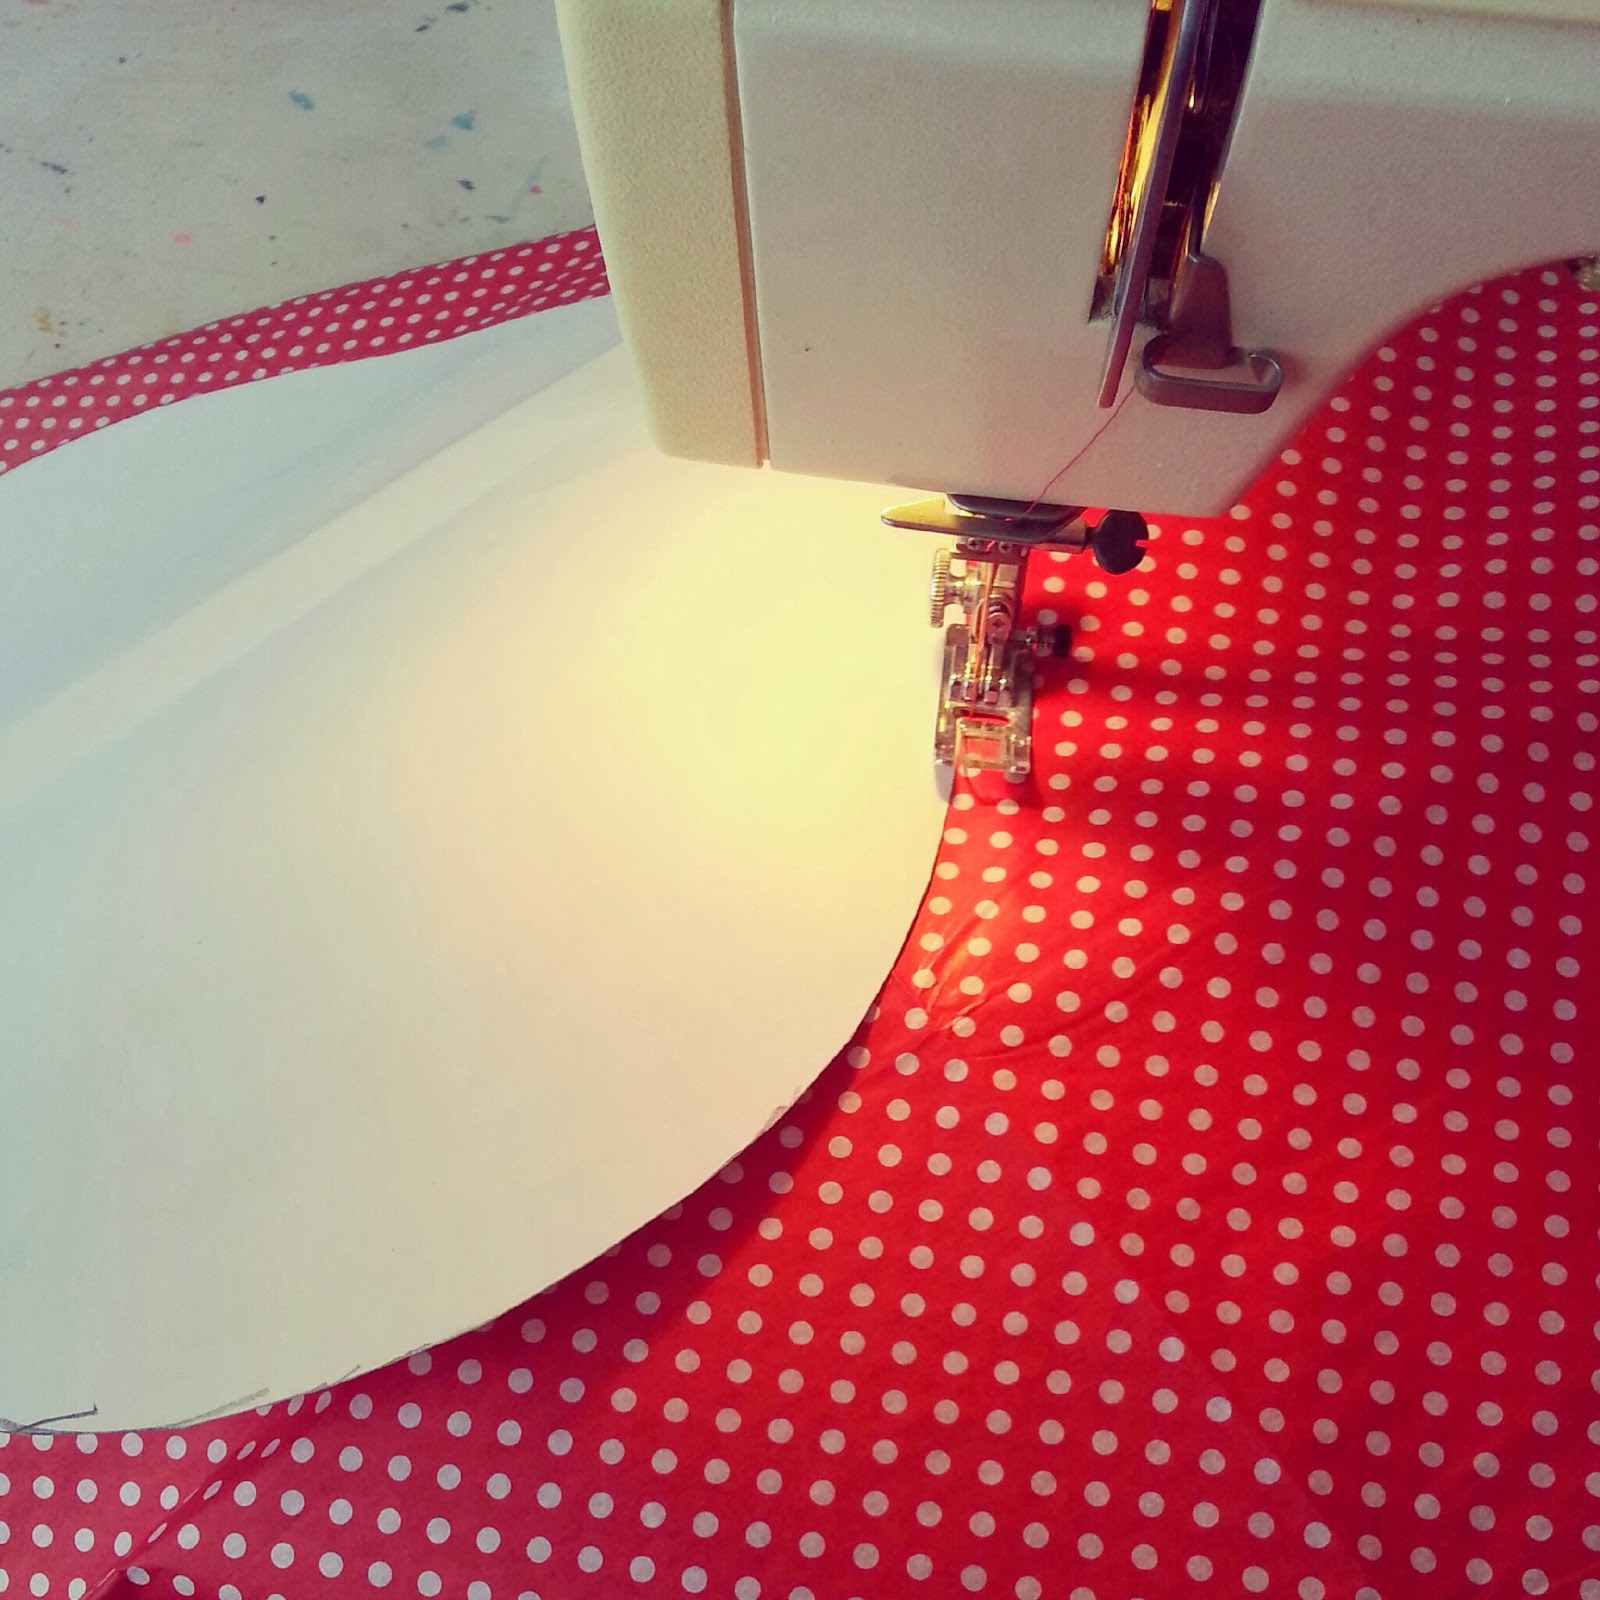
i started in the dip of the heart, working my way around, leaving about a 5 inch opening on the top of the one side of the heart so that there was an opening to tuck the treats inside...
next, grab the treats and fill the heart... carefully lift the heart back under the presser foot of the machine to close up the opening...
 
snip strings and begin embellishing...
i used a paper doily and a fun felt pinwheel that i made to add some texture and cuteness to the top of the heart... and finished it off with a personalized gift tag...
i love how they turned out... i can't wait to surprise the girls with these on valentine's day...
 
xo
angie


1.16.2013

a simple valentine garland...

 i have a thing for garlands... buntings... banners... paper chains... they can be fabric {images coming soon}, made from book pages {see here}, or made from pretty scrap booking papers sewn on the sewing machine {this style will be featured in an upcoming post about marina's over the rainbow birthday party}... they add a cute touch to the decor of a party and are festive when done in holiday colors...

today i wanted to share a simple valentine garland that i made with you...  i used different sized cupcake liners and bits of crepe paper that i tie-dyed...
{to tie-dye crepe paper:  add a small drop of food coloring in a shallow bowl of water... {you only need a thin layer of water because the crepe paper soaks it up quickly...} set the roll of crepe paper in the dyed water and when you see the color absorbing slightly up the sides of the roll, pull it out of the water... set it aside to dry... we have radiators in our home so the heat from the crepe paper rolls drying on them caused the edges to ruffle slightly but i was happy with that result :)}


since i made this last year, i don't have step by step pictures but it's pretty easy... i threaded the end of a very long strand of embroidery floss with a needle...

i sorted my decorative cupcake liners, smaller plain cupcake liners and snippets of crepe paper into piles...

i flattened out the cupcake liners as i went using a mixture of large and small, decorative and plain, with the crepe paper inner mixed, threaded onto the embroidery floss to create a "pouf" effect...
i repeated this step, spacing evenly down the length of my floss... i made ours long enough to hang across our mantle... 
it's a fun little project to do... minimal cost and a really cute turn out...

hope you enjoy making one of your own :)

have a happy day~
angie


12.18.2012

oh christmas tree... a tutorial

oh christmas tree...
 
 
remember these? 

well, i finally rounded up the rest of what i needed to complete this project... {not too shabby after thinking about it for 2 years...} see, this blog is already helping to keep me accountable :) that's a good thing because i am a procrastinator... like, for real... i wait til the last minute for everything causing much undo stress... {more on that later}
 
anyhow...here's what you will need:
~ 2 candlestick holders {your choice depending on the look you're going for}

~ 2 styrofoam cones {i purchased 2 different sizes, one a little taller than the other}

~ 2 skeins of red yarn {notice there is only one pictured... had to run back to the store to purchase more because i ran out} this color will be used for the body of the tree...

~ 1 skein of blue yarn... this will be used for the ornaments on the tree... {i'm really drawn to the red and blue combo this year...}

~ doodle-loom, medium and small size {those are the half moon shaped plastic pieces shown above in the yarn} they are pretty much a little tool to help make the perfect pom pom... this tool was purchased at hobby lobby...

step one
following the instruction on the doodle-loom pom pom maker, begin wrapping your yarn around the tool as shown in the picture above...

step two
continue to wrap the rest of the doodle loom until it looks like the picture above... you will pull the side yarn pieces down from the notches and tie them in a knot as the directions show...

step 3
after tying the side snipped threads loosely and holding as per the instructions on the doodle loom, snip down the channel...

step 4
fluff and there you have it... a finished pom pom :)

continue making enough of the medium sized pom poms to cover the styrofoam cone... attach cone to candlestick holder with hot glue using that as a base for your tree... continue with hot glue and attach the pom poms to the cone filling it entirely...

repeat pom pom steps with blue yarn using small doodle loom form...  make the desired amount to fill in your tree with ornaments... nestle the blue pom poms in between the red ones and attach them with hot glue...

your finished christmas trees will look something like this...

hope you enjoy this project!

have a happy day~
angie