3.30.2013

a springtime project... birds and nests...

the other day when we made salt dough flowers

there was a nice size amount of dough left... enough for each of the girls to make a little bird...
{maizie's}
{marina's}

they finally had the chance to paint them today... we went outside to enjoy the weather and they did some painting at the picnic table...

then... i remembered these little nests that i pinned from here quite a while ago... i thought they would make the perfect nest for their birds...


we shredded some paper lunch bags...
covered a bowl with tin foil to use as the basic shape for the nest...
 cut small pieces of the brown bag to use as the base layer...
and used mod podge to attach the paper to our form...
once that part was finished... we took our paper shred and added texture to the outside of the nest...
marina thought it would be cute to add some yarn snippets to the outside as well... 

once they were all dry... we carefully removed the tin foil... added some filler... 

and in went the little bird...
a cute addition to the nests...
the girls had fun with this project... these will be a favorite springtime decoration of mine for years to come!

have a happy day~
angie

linking up with:
afavoritething

today...

hi there... today was the first day of spring break for the girls...

and we spent all day together...

donuts for breakfast
haircuts
hangin' outside
took a few pictures


they had whatever they wanted for dinner
and 
there was popcorn and a movie

no homework... no pressures... nowhere that we had to be...

i wish we had more days like this...

have a happy day~
angie

3.28.2013

easter eggs

last year we dyed our easter eggs using kool-aid... just kool-aid and 2/3 cups of water... simple... and it was so nice to not have to mess with the vinegar... 
 the girls thought it was pretty neat... so...
since it was a success... we stuck with using kool-aid this year...
they turned out pretty colorful... and our whole dining room smelled fruity :)... {take note: the strawberry kiwi in the green package was a shade of pinkish/red, not green... the watermelon was the color of a watermelon... and the cherry was a light reddish color... we didn't quite end up with the color variations that we had last year... i felt a little bit bad about that... but the girls were still happy...}


i thought the girls might like to try something new, too...
 who doesn't love some glitter and some polka dots...
for these... we left the eggs white and attached glue dots to them {one at a time}... and then we pressed that area into a bowl of glitter until the dots were nice and sparkly...
{i found this set of martha stewart glitter on sale at michael's today for $7.99... it's normally $20.00 glitter so i was pretty excited about that deal!}
i think these turned out cute... 
{if i do them again next year i would buy the raised glue dots instead of the flat ones... i think they would attach to the eggs easier and add a little depth...}
{there were supposed to be 12 of these but somehow the other 6 ended up in the kool-aid...}

egg dying never quite goes the way that i plan... there are splashes everywhere... too many eggs the same color... glitter mixed into the kool-aid... 

but then i look over and i see little hands gently pulling this egg {from the glittery kool-aid} with a spoon... a big smile on her face as she sees her hand drawn message...
love... this melts my heart... 

and in that moment i realize that it's not about the picture perfect egg... but the memories being made...

how are you decorating your easter eggs this year?

have a happy day~
angie

3.27.2013

a twirly skirt...

 you probably know by now that i love to sew... and that i love fabric... there's great satisfaction that comes with a finished project...
that's how oopsie maizie began... i made clothing for my first born daughter, maizie... people who saw her wearing things i made began to order... and the orders continued to come...
by word of mouth, things were spreading nicely... then life got a little crazy... well... a lot crazy... and i made the decision to go back to school for early childhood education... once i took that step... oopsie maizie fell by the wayside...

i still made things for my girls but i kind of stopped doing it as anything more than that...

i received a request the other day for a 4 year old little girl who lives in florida...
i immediately got excited... because, you see... making clothing makes me happy!

i'm hoping to start bringing some of that back into my life... and hopefully one day i'll get up the courage to open up an etsy shop... i think that would be fun!

here's what i've been up to...
a little shirt...
with ruffly detailing and a frilly flower...

&

a twirly skirt...
with ruffly detailing...
i'm so happy with how it turned out...


marina asked me to make an outfit for her... she was a little sad when she came home today and realized that this one wasn't for her...

can't wait to pull together some fabric options for her... and when i do... i'll be sure to share them with you :)

have a happy day~
angie


linking up at lemon tree dwelling

3.26.2013

fun with salt dough...

we woke up yesterday morning to MORE snow... 

the amount of snow that we've had in ohio this year hasn't been so bad... however the duration of its stay is getting beyond ridiculous...  i'm really over it... i need some sunshine in my life...

the girls actually had a snow day yesterday... yep... march 25th and a snow day... so... of course, the morning started off with "what are we going to do today?"

there were plenty of things i could have been... and should have been doing but i took some time and made up a batch of salt dough... {i remember making christmas ornaments out of that dough when i was little with my mom and grandma... little trees and candy canes... it was a fun memory...}

we went through our cookie cutters and decided flowers would be cute to make so that's just what we did...

here is the recipe for salt dough that we used:

1 cup of flour
1/2 cup of salt
1/2 cup of water

once the dough was kneaded well, i rolled it out to approximately 1/4" thick...
we then began stamping the flower shapes into the dough...


we used the medium and small flower cutters that we had...

see that straw in the photo above?  we used that to cut out a little hole at the top of each of the flowers... {i forgot to take a photo of that step... oops...}

we lined a baking sheet with tin foil and placed our flower cut-outs on it...

and placed them into the oven which was preheated to 250 degrees...

we let them bake for 2 hours...

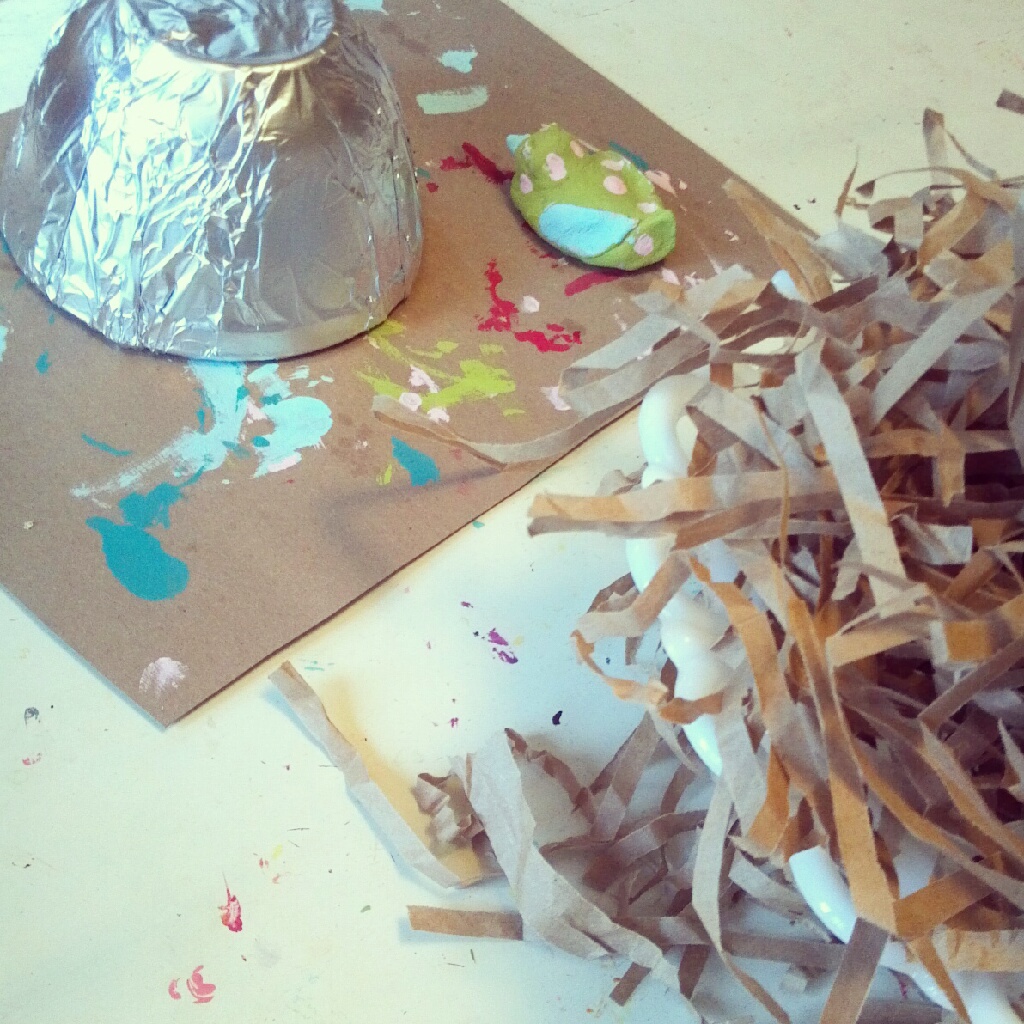
once they were out and completely cool... the girls had fun painting them...
they used 2 shades of aqua, green, red, pink and white... {the same colors of the washi tape bunting that i made for across our fireplace...}
{love messes like this... that table has seen many projects... can ya tell?...}
{adding some details...}
{fun colors...}
{the whole bunch...}
{a close-up...}

these were super fun to make... i'm not quite sure what we'll do with them yet... i'm thinking either string them into a garland... or maybe hang them from bakers twine or ribbon from some branches... maybe in the milk bottles on our mantel once our tulips are gone...

have a happy day~
angie


linking up with...

3.24.2013

sunday to sunday

how's about a little sunday to sunday recap...

it's been a...

 tulip purchasing...
 sock bun trying...
 recipe box arriving...
tiny fingers guiding...
bunny hugging...
concert attending...
happy day surprising...
kind of week... 

it's been a great one... how was yours?

have a happy day~
angie

3.23.2013

wanna make a really cute wreath?

last spring i hosted a pinterest party at my house and we made a torn fabric strip wreath... it was a fun project so i thought i'd share with you today how we made ours...

at the party i made a colorful wreath with fun patterns and ribbons...
 it's happy... don't ya think?
 i really squished the fabric and ribbons together as you can see in this close up... it gave the wreath a really full effect... 

for this version i used 3 1/2 yards of fabric {lightweight cotton} in total... i bought seven half yard cuts of different patterned fabrics... and i purchased 6 spools of different ribbons and ric rac to tie in between...

{you could always use less fabric or ribbon if you prefer it floppier...}


just follow the instructions below...


**********************************************

here is the muslin wreath {like the one that i'm making for my gram that i mentioned here}
for this version... i bought 3 1/2 yards of muslin in total... when i brought it home i cut it into seven half yard cuts... 


you also need to purchase a 12" 4 tiered wire wreath form as seen below... i bought mine at hobby lobby...

instructions:

 i made the strips for the wreaths pictured approx 1"- 1 1/4" wide... 

i snipped into the fabric and tore all of the strips vertically {which will give you an 18" strip} 
then i folded that fabric strip in half and snipped it to give me two separate 9" strips...
once you have a whole bunch of 9" strips...
you just start tying them onto the wire wreath form...
pushing them as close together as you can...
and when your done... it'll look like the picture above...


i like this version because i think it will be fun to make some cute, seasonal additions for it... maybe a little birdie for spring... or hang a colorful bunting across it... anything will go since it's so neutral...

this has been one of my favorite things to make... i hope you enjoy this project, too!

have a happy day~
angie

linking up with mockingbird hill cottage
afavoritething